seekeyepub.com
-

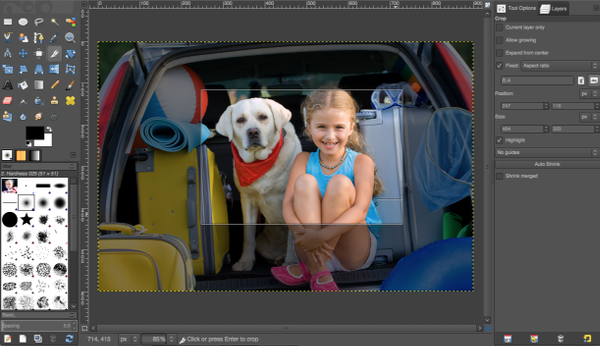
Create Focus in Your Photos: Cropping in GIMP
Tuesday, April 15, 2014
Taking your photos from good to great can be as simple as cropping, as I discussed in a previous post. But how? All photo editing programs have support…
-

Planning Your Next Photo Tour: Visualizing Locat...
Sunday, April 13, 2014
Touring regions of the United States with my Canon Rebel & tripod in tow tops my “Things I Enjoy Most” list, and planning those excursions is close behind….
-

Take Your Photos from Good to Great: Cropping
Friday, April 11, 2014
Do you know what makes a great photo? Most great photos just don’t happen and usually require planning & editing. I’ll be discussing the latter in this post…
-

Baby, I’m a star
Wednesday, March 5, 2014
Girl skater is shaped by a star stencil with a rainbow stripe applied. Created with StensaShare.
-

-

Enjoying quality time on the lake
Wednesday, March 5, 2014
Father and son fishing, shaped with a soft edged, white stencil. Created with StensaShare.
-
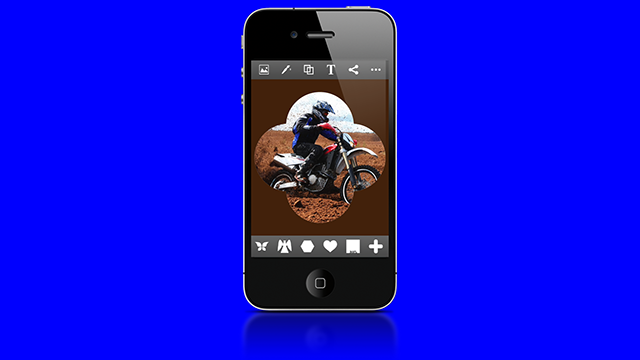
Vroom, vroom!
Wednesday, March 5, 2014
Dirt biker cropped with quatrefoil stencil painted with chocolate. Created with StensaShare.
-
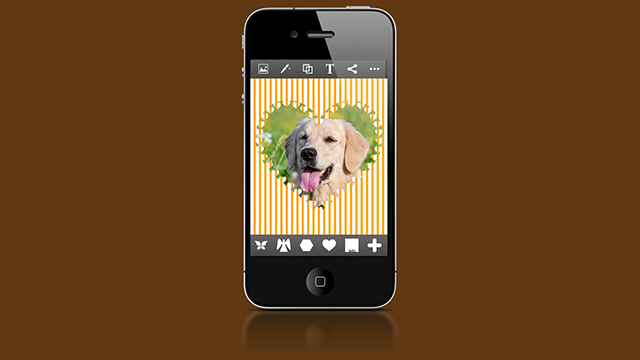
Adorable puppy within heart
Tuesday, March 4, 2014
Created with StensaShare, using a heart stencil and painted with stripes.
-

StensaShare to be released in March 2014
Tuesday, March 4, 2014
Seek Eye Publishing is happy to announce the release of StensaShare for the iPhone. Here is our copy from the app store: Shape a moment. Express yourself. Embellish….